
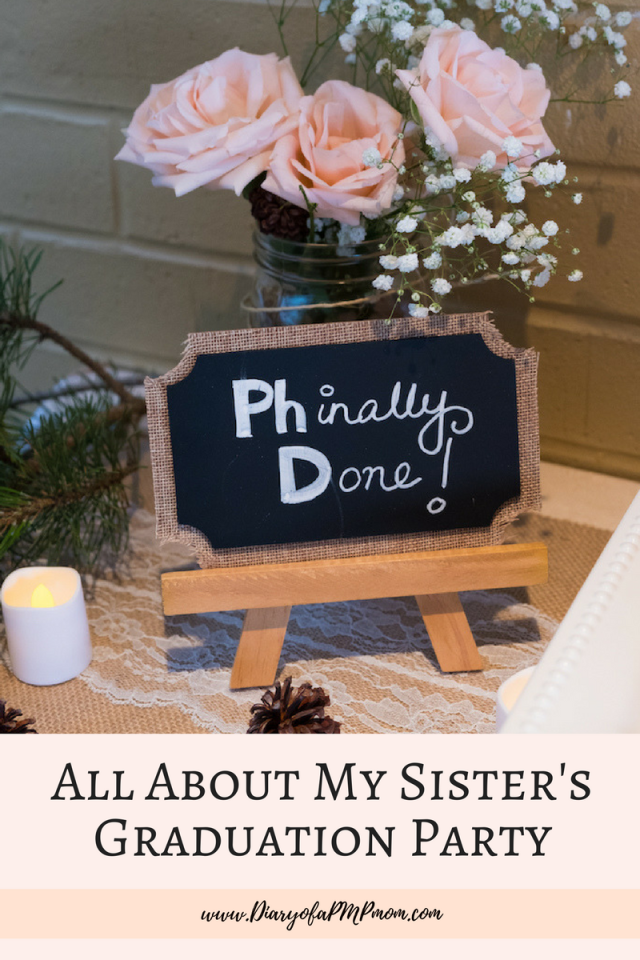
My sister completed her PhD this May and recently threw a party to celebrate her big achievement. Needless to say, I was appointed to do the decor and the cakes for the party BUT on a very tight budget! Although there are such great party stores here and I was tempted to buy EVERYTHING, she banned me from spending even out of my own pocket! What that meant for me? – a LOT of DIY-ing!
So without further delay, lets get into the details of the party.
The Venue
The party was in a party room of a residential building on the 35th Floor in Downtown Minneapolis. It had the most spectacular views!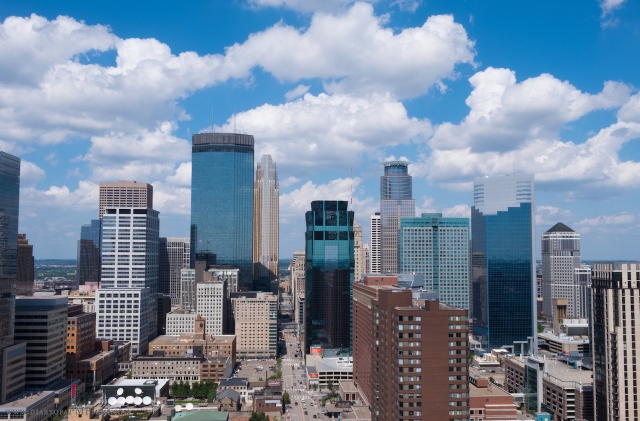


The Decor
I had been wanting to do a vintage themed party for a while now and when I floated the idea to my sister, she was up for it in a heart beat! So theme of the party was a no brainer! Vintage – it was!
The Centre Pieces
My sister had some Mason Jars from a previous party she did. Looking at them, I knew I wanted to use those for the centre pieces. So, I wrapped them with burlap ribbon and twine. Though I wanted to use real flowers, we got some artificial flowers from Micheals (since my sister wanted to reuse them.) Next, I wanted to use the wooden slices as the base of the centre pieces but they were about 10 USD each. I needed at least 15 of them and my sister didn’t approve of that cost, at all!
Luckily the next day, my sister found a woodcutter chopping off a fallen tree in her neighborhood. She asked for a log and the guy not only gave her the log but sliced it for her as well (super sweet, because he had worked once in my sister’s backyard. She gave him a $20 tip and we got 15 slices! JACKPOT!). He told us that the wood would dry and crack in a couple of days, so we treated the wood with mineral oil and wrapped them in plastic before storing in a bag. We did everything we could to ensure that the wood doesn’t loose its moisture. It was a temporary solution and we had our fingers crossed that it would work and the slices would survive till the party (which they did.. so yaaayyy!) Instead of buying Pine cones, I went hunting in my sister’s backyard and collected so many of these. I also picked some cedar leaves for the table decor.
 And here is how the centre pieces came together. I was quite happy with them 🙂


The Food Labels And Table Numbers
We got some plain brown cards and some fabric flowers from the Clearance section of Micheals (lol! tight budget u know). I used the cards for the food labels and their envelopes for the table numbers 🙂


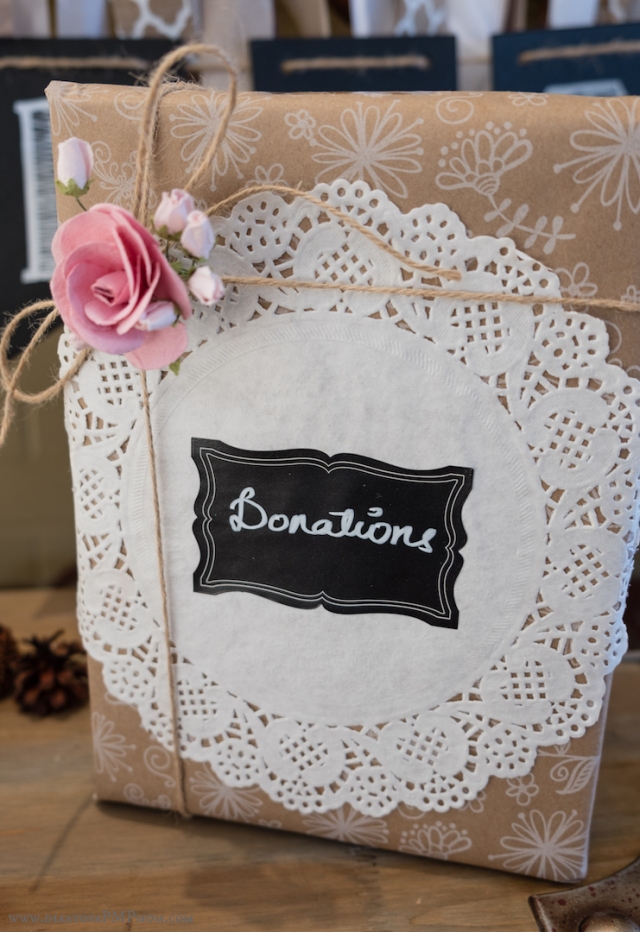
The Donation Box
It was a NO-GIFT celebration and my sister had asked the guests to donate for a cause rather than bringing gifts for her. I made the donation box out of one of my Amazon shopping boxes (my shopping put to good use! LOL!)
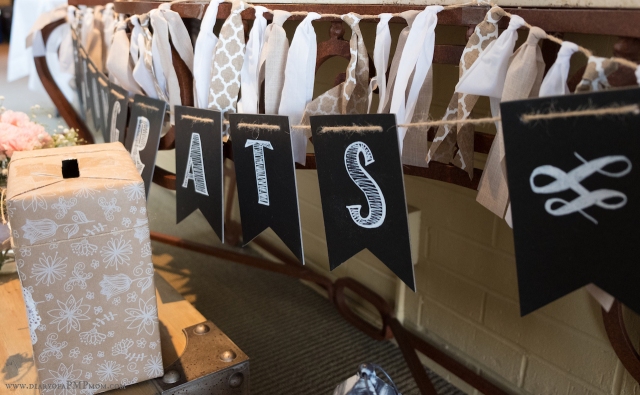
The Cake Table
For the backdrop of the Cake table, I made a few paper fans from some nice wrapping paper sheets I found at the Dollar store and some paper doilies lying around the house.
 Next, some real flowers, a reusable chalk board banner (I wrote Congrats on it), a burlap runner and lots of stuff that I picked up from her house.


The Cakes
Having multiple cakes on a dessert table is becoming more and more of a trend and offers a mix of flavors, fillings, and even designs. Since there were about 150 guests, I decided to do just that instead of one big cake. I made three cakes – a 2 tiered Chocolate Cake, a tall Vanilla Cake and a Carrot Cake.
I had been eyeing the two latest trends in cakes.. the Naked Cake (an uncovered cake where you can see the inside layers) and the Chalkboard Cake. And I decided to make both of them!

 The other two were naked cakes.. the first one was the carrot cake with with real flowers and a chalkboard cake bunting I made (using the free printable from Yellow Bliss Road),

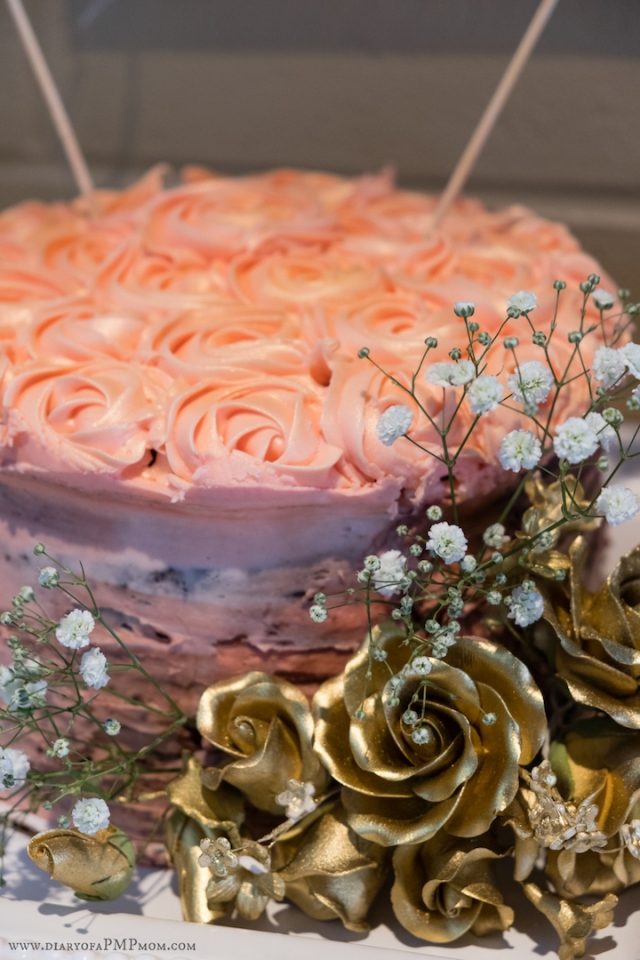
The second naked cake had icing rosettes on top, golden sugar flowers (I reused from my daughter’s recent cake, see here if you missed that) and another cake bunting I made. Actually this was not the actual design of the cake… the original cake had ombre rosettes all over the cake, but it was such a hot day that they melted on the way to the venue! 😦 And that is how this became a naked cake!

And that’s all that went in doing this party on a budget!

Me and my lil helper!

Everything looks so good. MashaAllah the fact that you did all that in such short time and that you were also sick, it blew my mind . MashaAllah MashaAllah you’re amazing.
LikeLike
Awwww you are so sweet Saleha. Thank u!
The earings looked perfect with my outfit but unfortunately don’t have a close up pic.
You are amazing yourself larki 😘
LikeLike
I’m so impressed with your work !!! Such a creative soul you are :))))
LikeLike
Thanks! That’s really sweet of you!
LikeLike
Wow! this is awesome. I loved how you got everything together and made a masterpiece ❤
LikeLike
Thank u ! 🙂
LikeLike
Love the creativity and how fab everything looks! Might have to borrow some DIY ideas 🙂
LikeLike
Thanks! Sure feel free to use any idea..
LikeLiked by 1 person
I love how put together everything on an actual budget and it still looks cohesive. It doesn’t look like you were on a budget at all. Also, love the donations idea.
And the cakes look divine. I recently discovered that adding fresh flowers to cakes instantly makes them look amazing.
LikeLike